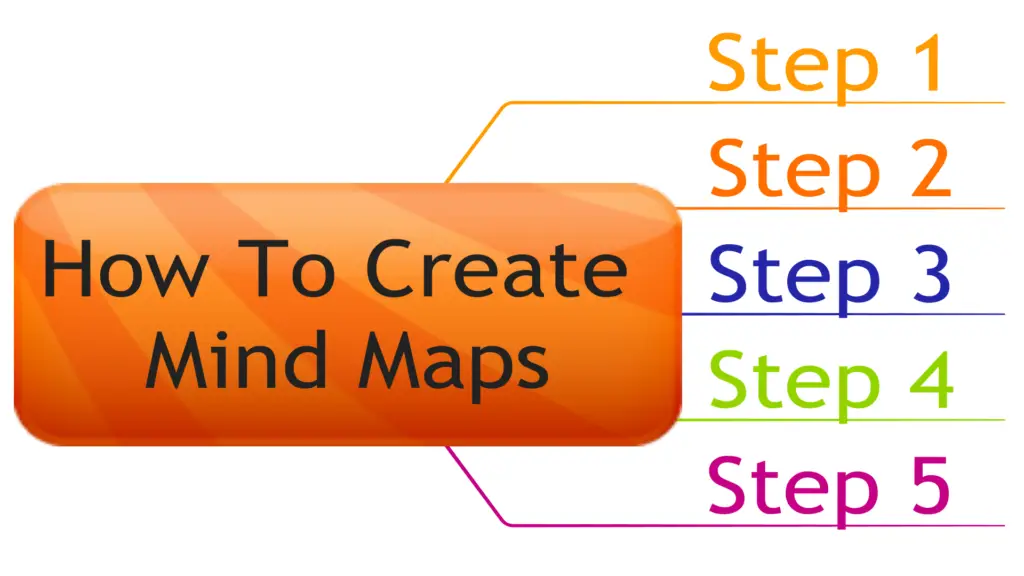
Ever wonder how some people seem to accomplish more in a day? One of their secret weapons might be mind mapping!
A mind map is a visual tool that allows you to organize your tasks, prioritize goals, and stay focused. To create a mind map, you need a main idea at the center which is broken down into main categories radiating from the center with visual clues added to the mind map to prioritize important branches or represent timelines and deadlines.
Previously I’ve discussed how mind mapping boosts productivity and in this guide, I’ll walk you through a step-by-step process for how to create mind maps effectively with examples to reap the mind mapping benefits and boost your productivity.
Content Covered Today:
Step 1: Define Your Central Task or Goal

The first step when creating a mind map is to decide on the main idea you want to mind map. When it comes to productivity we’re talking things like a task, a project, a goal or an event. So it could be “project ABC” or “Today’s tasks” or “Phones to make” or “2024 goals” and so on.
You have a lot of options here, you can simply write down your main idea, you can sketch or draw it, you can do both. According to the map, the mood and the purpose of the map, I vary between just sketching the idea like for project planning or just writing it for mapping the tasks of the day for example.
Step 2: Break Down Your Tasks or Ideas

Once you layout your main central idea, you start branching out from it radially to main categories of that main idea. Those are your main headlines sort of saying if you’re doing this topic in a linear format. And for each category you can branch out even more to include main points under those categories. You can have as many branches as your main idea dictates.
Branching out doesn’t always have to be radially, going outward, for a mind map to work, it’s just the most common layout used, but you can do it vertically or in a hierarchical structure like a flowchart. You can mix and match, meaning you first branch out with the main categories for example then for one category you do the hierarchical layout. As I keep saying, it’s your own mind map not anyone else so design it the way you want.
Step 3: Prioritize Tasks Using Visual Cues

Now you can call it a day because you already have the whole mind map laid out, or you can even spice it up with some visual clues to make it more alive. I’m talking icons, hand drawn illustrations, colors, connections. These can help you prioritize tasks or project phases to focus on first. They can help clarify order for which task or project phase to be done first.
All of that comes on top of the primary benefit of using those clues, which is improving retention. When you add a visual clue to a branch or a map piece, you make it more memorable to your brain. This way the project becomes easier to manage because its pieces are already memorized in your brain.
Step 4: Add Timelines and Deadlines

Since we’re talking about tasks and projects, then it makes sense that timelines and deadlines are going to be an absolute part of your mind map and that’s the other layer you can add to your mind map, the time lines or deadlines attached to your task or project phase.
This is demonstrated digitally through the Gantt chart feature in tools like MindManager or IMindmap. Once you assign a timeline or a time to the branch, it gets shown on the Gantt chart view of that mind map making it easier for you to monitor progress.
Physically, using pen and paper, I do it by adding a branch with a date or time to that branch and highlight it in a red circle and sometimes with a drawn sand timer next to it. You can also write it in a circle next to that branch if you don’t want to overload the map with branches.
Step 5: Review and Refine Your Mind Map for Maximum Efficiency
Now it’s your time to set back, relax and enjoy your mind map. Maybe you’ll notice couple of adjustments to make, more visual clues to add, more coloring to do. If so, you can still add them, if you didn’t find anything to add at this point then it’s completely fine. Rest assured that your mind map is always ready to include some more items.
This what separates mind mapping from the linear structure when planning a project. Projects are always alive, meaning something new happens that could change the path, or even a task arises at later stages when earlier it wasn’t foreseen at all. With projects management mind mapping you can easily add that task or project phase to the mind map when they arise.
That’s also beneficial when handling a big project with different team members, because everyone can improve on the mind map as things change.
Best Tools to Create a Mind Map for Productivity
We covered every step of how to create an effective mind map for tasks handling or projects management, and this works for any tool you want to use, digitally or physically through pen and paper. Let me showcase some of them, the ones I use personally. In another article I’ll go into more tools with more details.
- MindManager: This is a digital tool that I use for creating a mind map from scratch, meaning that I don’t have the content that needs mapping in the first place, like project planning and article planning for example. It is fast and very user friendly program that is equipped with strong features like Gantt chart view, transforming articles into maps and vice versa, and different other ones.
- IMindmap (now Ayoa): This is also a digital tool, mostly like the MindManager program with one advantage that I like about it which is the better-quality image output. When it comes to exporting maps into images, IMindmap is superior to MindManager. Even the branches colors and style makes it easier for me to use it when creating maps to sell or use in articles like the ones I used in this article.
- Mind Mapping Notebook: This is the physical paper tool that I designed and use. I designed it for Mind Mapping beginners and experts, and that’s why I included a quick mind mapping guidance in few pages to teach the user what it is, its uses, benefits, and how to use it. Then I added 50 templates, varying from horizontal and vertical ones, then plenty of blank pages to freely mind map.
Conclusion
Creating a mind map for productivity is a simple yet powerful way to organize your tasks and projects and manage your time. By following these steps, you’ll be able to visually map out your day, prioritize your tasks, and stay focused on your goals. Whether you’re using digital tools or pen and paper, start creating your mind map today and experience a surge in productivity!